Installation Instructions
Step 1
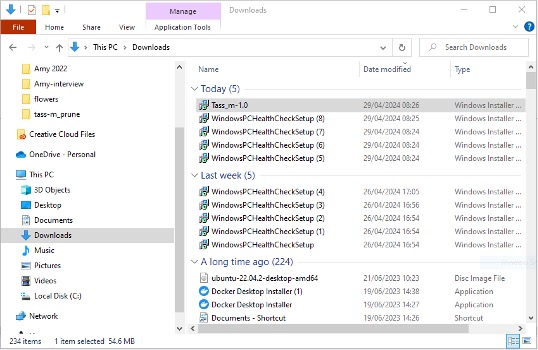
Once you have downloaded the file “Tass_m-1.0 file”, double click on the download to run the install.
Step 2
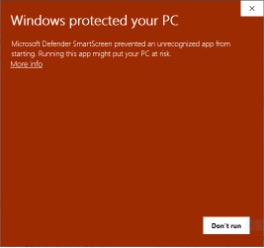
After double clicking download you will be greeted by a Microsoft Defender window. Because the application is not verified it thinks its unsafe. Click on “More Info” to force run the install.
Step 3
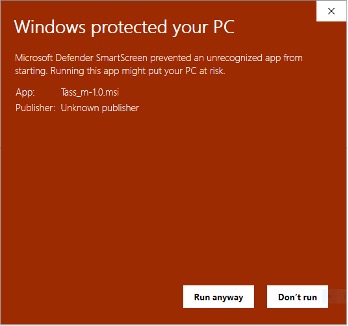
After clicking “More Info” you will be given the option to run the installation anyway. Click on “Run anyway” to force run the install.
Step 4
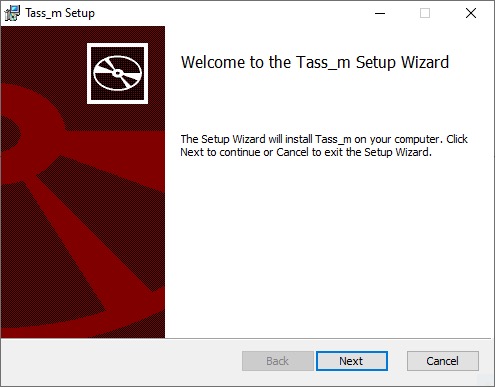
After clicking “Run anyway” you will a window will appear to begin the installation process. Click on “Next”.
Step 5
The next step will be licence agreement, which is just boilerplate legal stuff. Check the box “I accept the terms in the Licence Agreement” and then click “Next”.

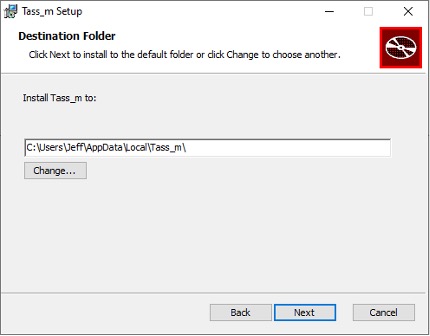
Step 6
The Installation then requires you to select where you want the package to be installed. I would recommend leaving this to the selected default path. Click “Next” to proceed.
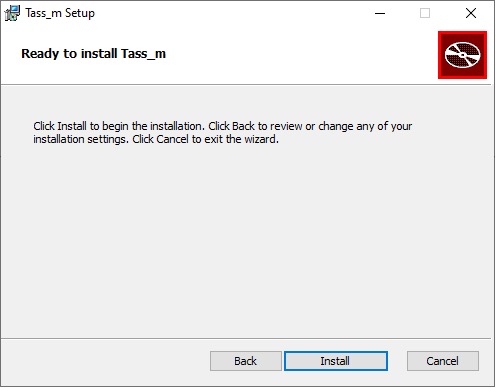
Step 7
The next part in the process will require you to click on “Install” to proceed with the installation.
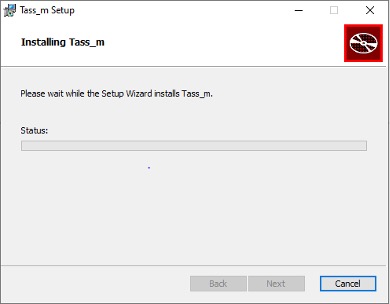
Step 8
The installation will now begin, but it can take a few minutes so please be patient.
Step 9
The installation has now finished. Please click on “Finish” to proceed.

Step 10
Now that we have finished the installation, we need to look for the installed application, as it won’t auto start after installing. For me a desktop shortcut was created during the install process. Double click on this to open the Tass application. If you don’t have a shortcut then you can search for the application “Tass” in the Windows search bar in the bottom left (May be in a different location on Windows 11).

Step 11
After launching the application, you will then be greeted by an option to setup a profile. Proceed with the steps indicated in the application to begin.
